


The EdgeRight COR-TEN Steel Raised Planter
A Complete Garden Bed Kit — Available in circular or rectangular options.
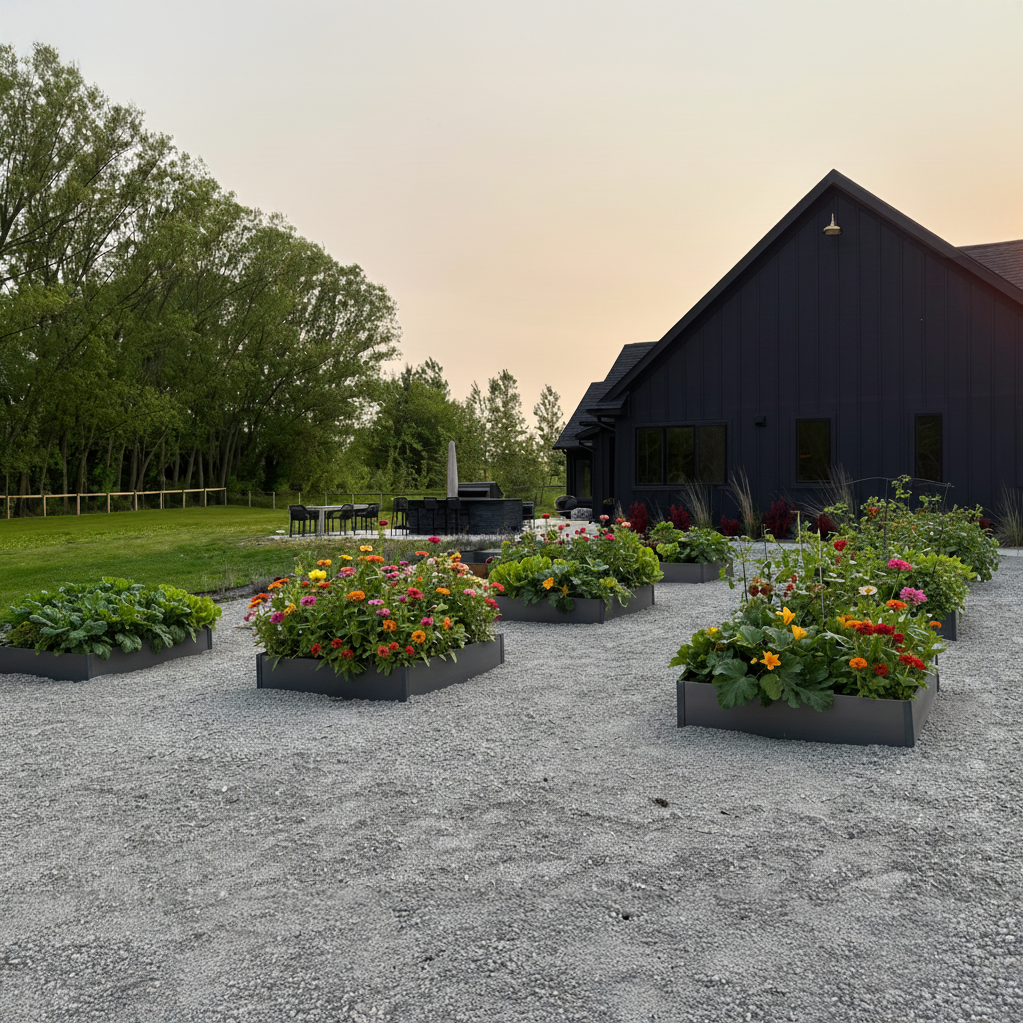
Raised Garden Boxes or Above-Ground Planters
Sometimes called garden boxes, are the perfect option for growing small plots of vegetables or flowers. Our EdgeRight raised garden bed kits made of COR-TEN steel with teeth that easily pound into the earth, also provide a barrier that protects from weeds and soil contamination, as well as deters slugs and snails.
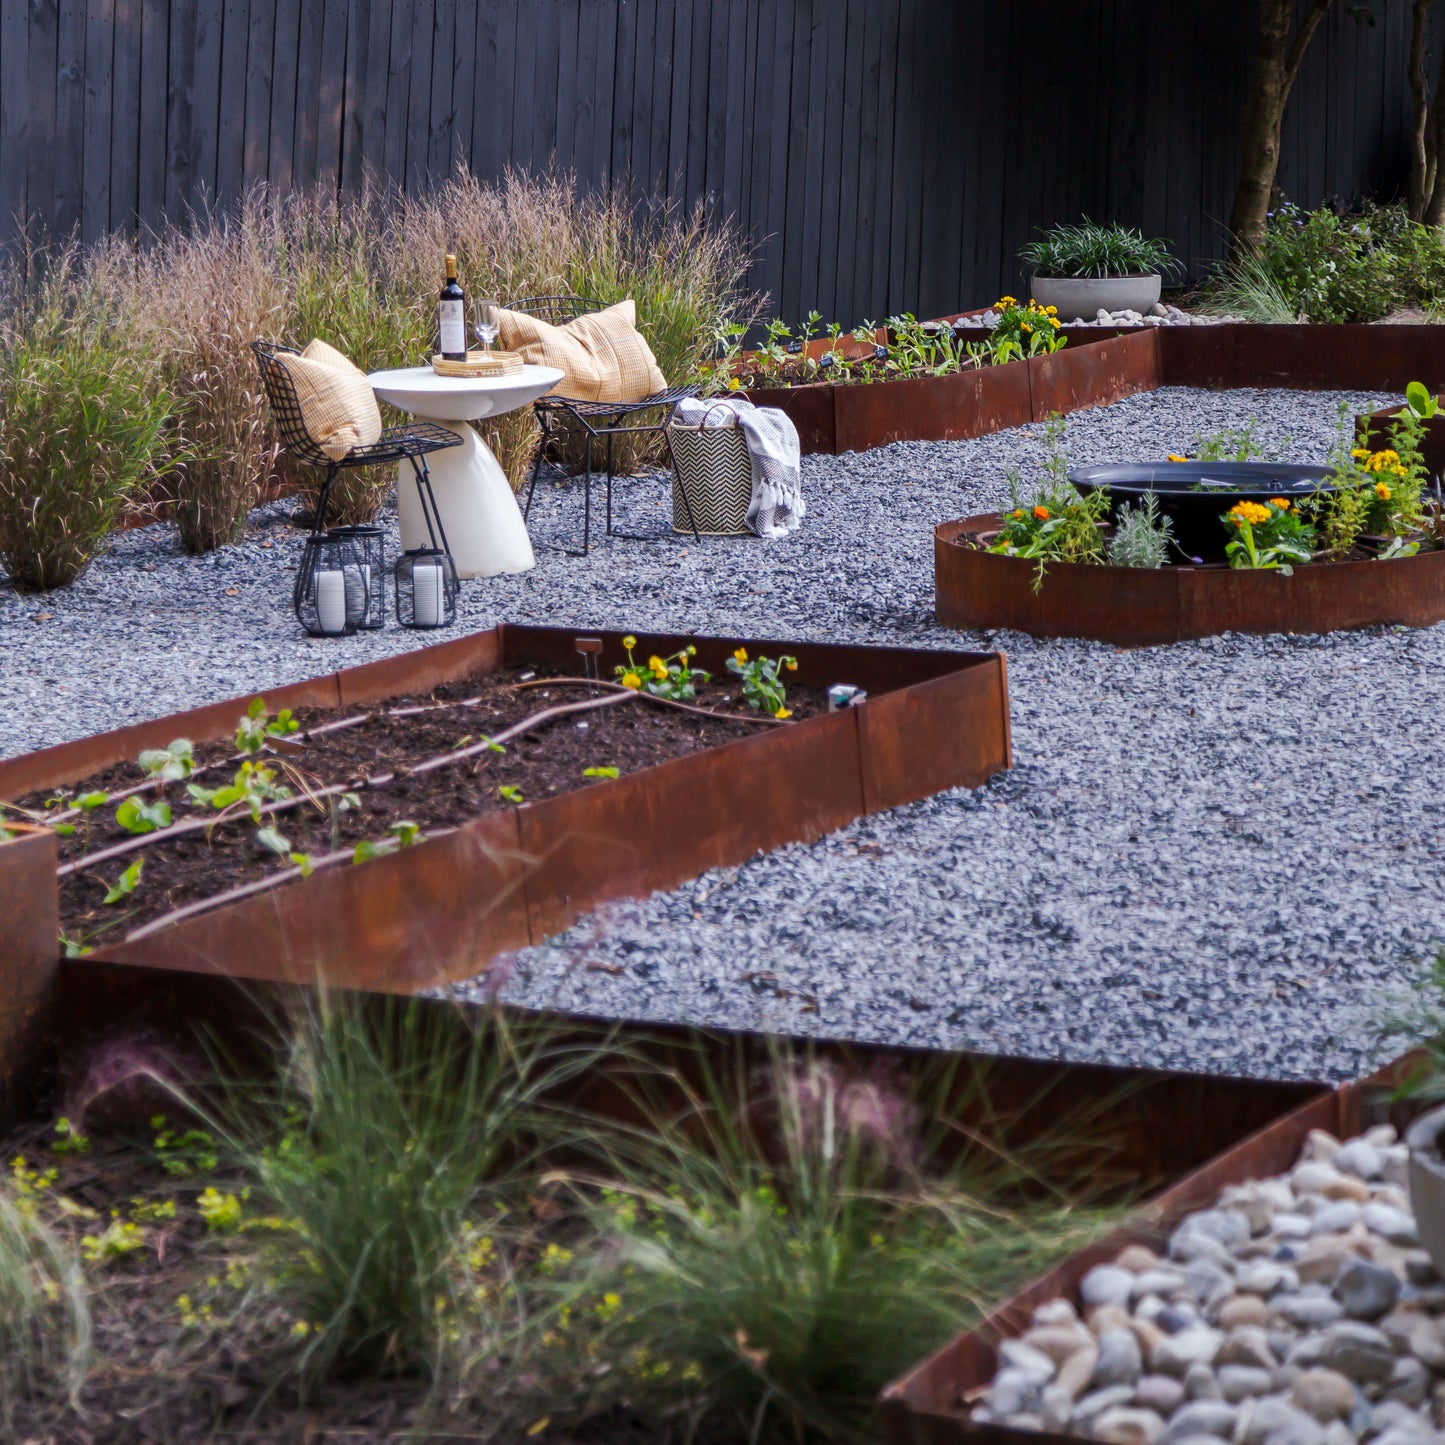
Unlike wood or cheap roofing steel that's used in competitors’ products, COR-TEN steel is hearty and impervious to weather, pests, and other elements. Every component of our garden bed kits is made of this COR-TEN steel, including the panels, strips, and connectors. There are no wood, plastic, or cheap steel parts so these raised planters are durable and strong, making them a cost-effective investment since they rarely need replacing. The COR-TEN steel also ages beautifully, to a nice, rustic, patina that complements mulch and rocks.
Benefits of Metal Planters
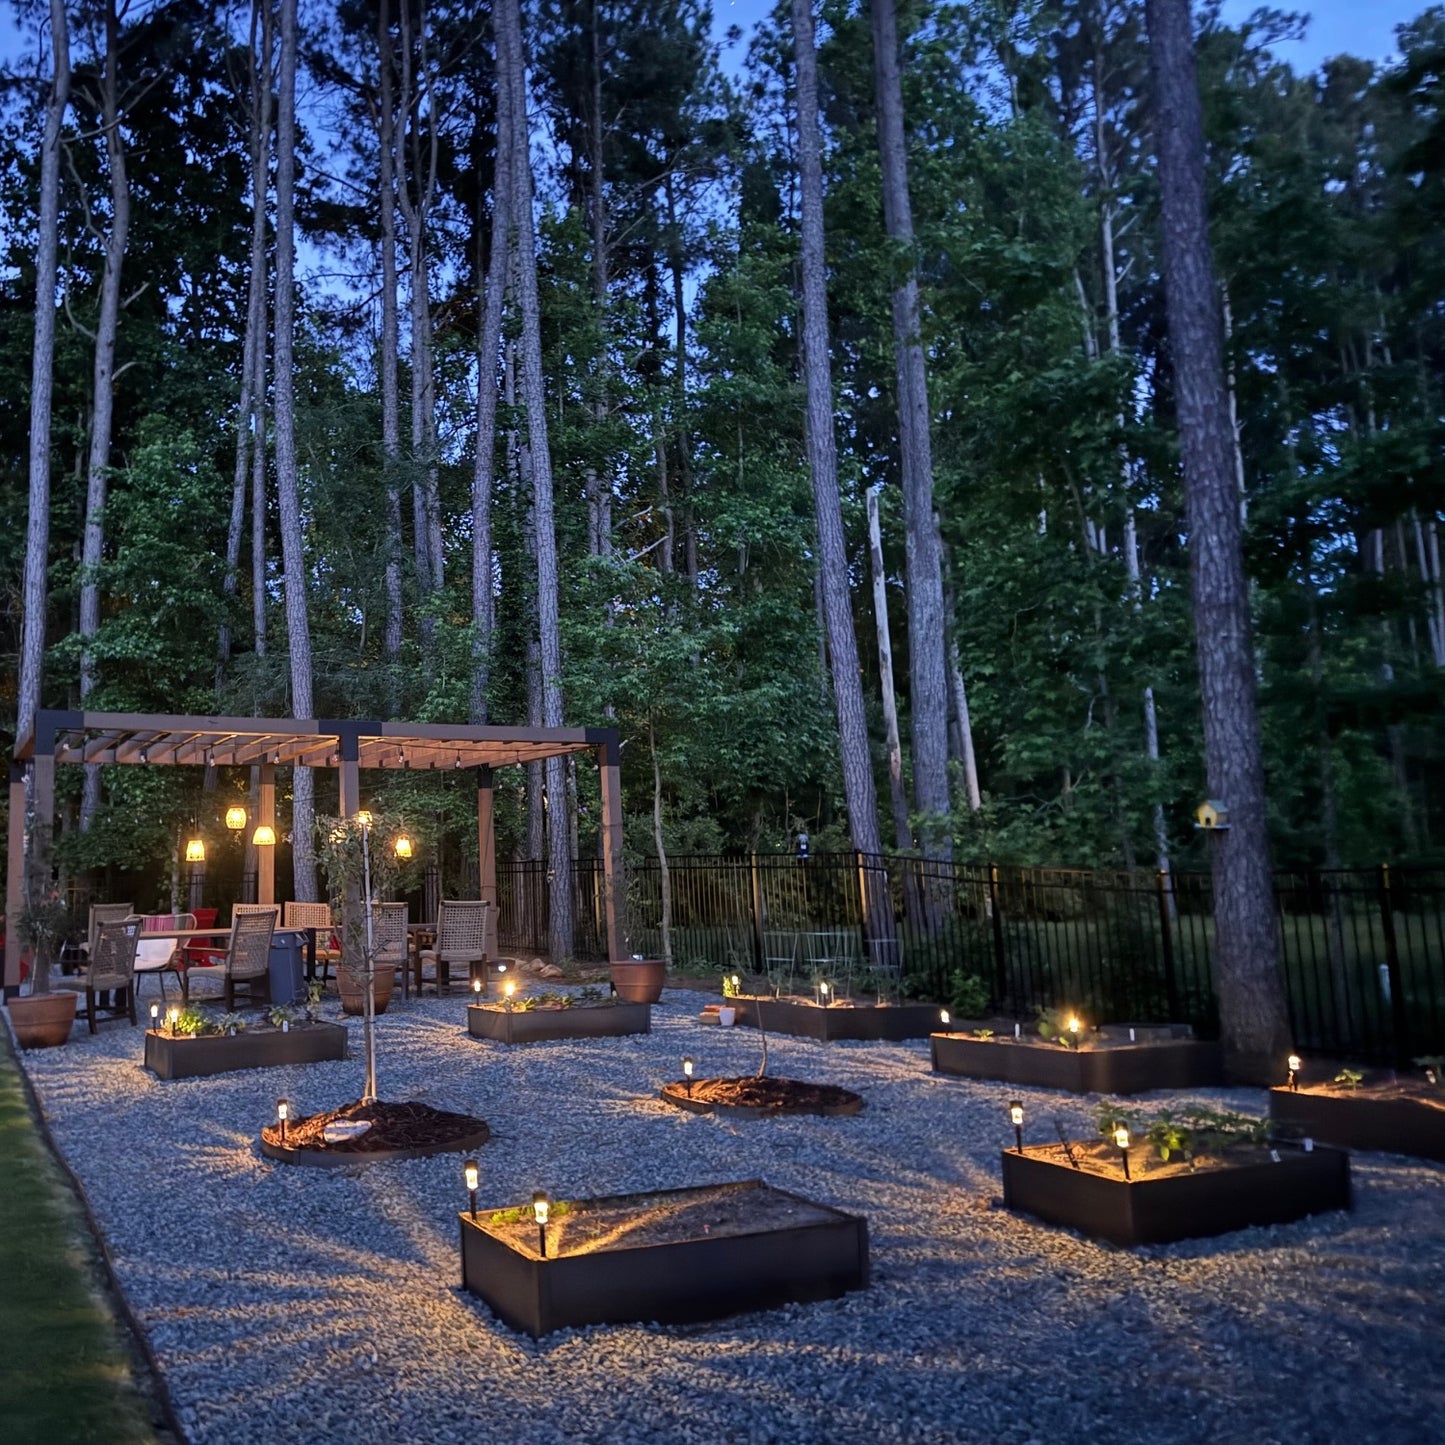
Raised metal planting beds offer unique benefits for gardens, particularly in managing heat and its positive impact on plant roots. Here are the key points:
-
Improved Soil Temperature Regulation: Metal beds absorb and retain sun's heat, warming the soil more effectively. This is beneficial in early spring, leading to an earlier planting season. It stimulates root growth, enhances microbial activity, and improves nutrient availability.
-
Extended Growing Season: The heat retention extends the growing season in colder climates, as soil in raised metal beds stays warmer than surrounding ground.
-
Enhanced Root Development: Warmer soil conditions during early growth stages lead to faster, stronger root development. This is crucial for healthy plant growth and nutrient uptake.
-
Protection from Soil Compaction and Improved Drainage: Raised beds prevent soil compaction from foot traffic, ensuring a looser soil structure. This promotes better root growth and efficient drainage, reducing root rot risk.
-
Reduced Weed and Pest Infestation: The elevated design and metal barriers help reduce weed and pest invasions, leading to healthier plants with less nutrient competition and reduced root damage risk.
-
Control Over Soil Quality: Gardeners can completely control soil composition in raised metal beds, tailoring it to specific plant needs, including temperature preferences.
Enhanced Raised Bed Kits
Our Raised Bed Kits have been enhanced with longer corner connectors. For upcoming projects, please note: the 8" Raised Bed Kits now feature 14" corner connectors, while the 14" Raised Bed Kits come with 24" corner connectors.
Every Raised Bed Kit now includes two 14" x 1.5" Vegetable Markers for Tomatoes and Peppers.
Raised Bed Kit Installation Instructions
Step 1: Prepare the Area
- Clear grass, roots, and debris
- Lightly loosen or wet compact soil for easier installation
- Mark your layout if needed
Step 2: Position the Panels
- Place panels in your desired shape (square or rectangle)
- Do not install corner connectors yet
- Align panels roughly where they will sit
Step 3: Square the Layout (Critical Step)
Before driving panels fully into the ground:
- Measure diagonally from one corner to the opposite (A)
- Measure the other diagonal (B)
- Adjust panel positions until both measurements match
If the distance from A to A equals B to B, your bed is square.
Pro Tip:
Take a minute here—this prevents a crooked or twisted bed later.
Step 4: Drive Panels into the Ground
- Use a wood block to protect the top edge
- Start by lightly setting all panels into the ground
- Then drive them down evenly, alternating sides
Depth Guidelines:
- Standard beds: 2–3 inches into soil
- 14” beds: minimum 4 inches for stability
Step 5: Install Corner Connectors (Important)
Once panels are fully positioned and driven:
- Slide corner connectors over adjoining panels
- Make sure connectors sit flush at ground level before hammering
Critical Tip for Longer Connectors:
- Push the connector tightly against the steel at the base
- Then drive it into the ground
Why this matters:
- Prevents connectors from flaring outward
- Keeps corners tight and clean
- Ensures proper structural hold
Step 6: Final Check
- Re-check diagonals (A vs B) after installation
- Tap panels or connectors slightly if needed
- Ensure all corners are tight and seated
Installation Notes
For proper stability, Raised Bed panels should be installed 2–3 inches into the ground in most soils. The 8" Raised Bed Kits are designed for this installation depth. The 14" Raised Bed Kits should be installed a minimum of 4 inches into the ground to ensure adequate support due to the taller panel height. Deeper installation may be used if desired based on soil conditions or personal preference.
Expanding Your Bed
Need a larger layout? No problem.
Standard straight strips can be added to extend your bed to any size. When expanding beyond the base kit, we recommend using the longer 24" straight connector clips to maintain strength and alignment across longer runs.
This gives you flexibility to scale your layout without compromising structure.